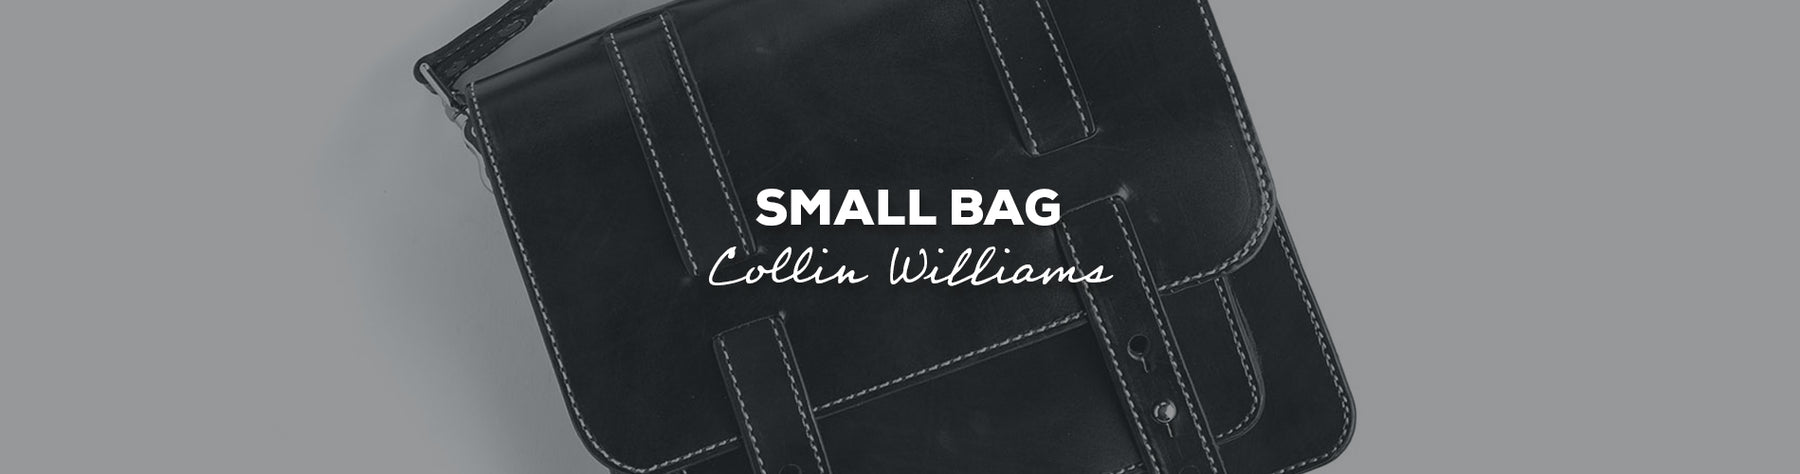
Build a small bag with these step-by-step instructions by Collin Williams, Tandy Leather Store Trainer!

Download the FREE Pattern
Shop All Materials
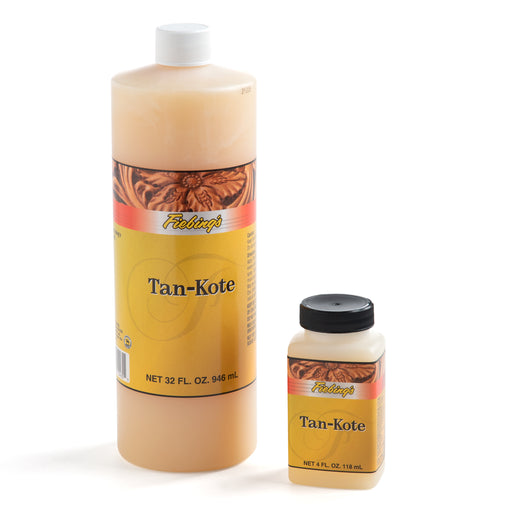
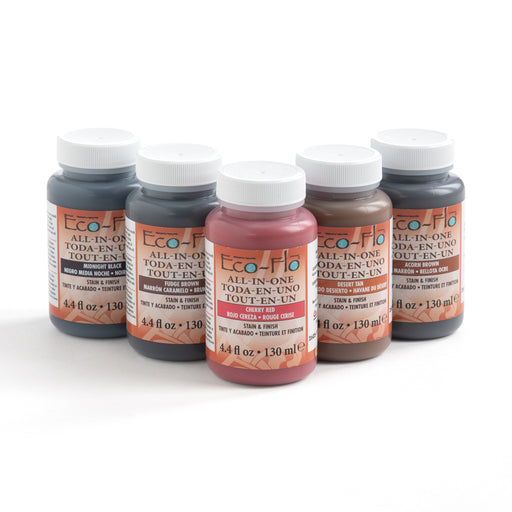
Products:
Instructions:
1. The first step is to cut pieces a, b, d, and e from your 6\7oz leather and mark any holes or stitch lines.

2. Cut part c from your 2/3oz leather.

3. Then cut the pattern parts f, g, and h from your straps.

4. Cut your gussets from your 3/4oz pliable leather.

5. Lastly cut your d ring hangers from the scraps of your 6/7oz leather.

6. Once all your pieces are cut, punch out all the holes.

7. At this point you will complete all tooling, dying, and finishing required if you’re building with regular veg leather.
8. Once that’s done, complete all skiving according to the pattern.

9. Now finish the edges on all the straps, the top edge of part B and E as well as around the edge of part D.

10. Gouge the fold line on part c and fold it down, gluing it in place.

11. Install the female side of a line 24 snap onto part C.

12. Install both part H straps onto part A securing them with a rivet each.

13. Set a female side of a line 24 snap in each hole on part D.

14. Set the male side of a line 24 snap into the top holes and two 10mm button studs onto the lower holes on the small pocket face, part E.

15. You can at this point add a decorative touch by stitching along the top of part E and around the edge of part D.

16. Glue and stitch the small gusset, part J, to the face of the small pocket, part E.


17. Now finish the edge around the pocket.

18. Then Glue and stitch part d to part b with the edge on the gluing guideline, making sure to backstitch at both ends of the stitch line.


19. At this point you will gouge the fold line on the large gusset.

20. Then install the strap hanger into the gusset with the d-ring on in, riveting it in place.

21. Apply glue to the gusset on each side of the fold line and press the sides together starting at the line to ensure a clean fold.

22. Once you have built the gusset, glue it to part starting at the corners and working to the bottom middle, if you try to start on one side and work around you may end up with too much or not enough length to go around. Starting at the top allows you to stretch or compress the gusset as you adhere it.


23. Once the gusset is adhered to the face piece, go ahead and sew around the edge making sure to back stitch at the beginning and end.

24. Once the front of the bag is complete, lay the pattern piece for part b over both sides of part a and make a mark on each side to indicate where the gusset will stop.

25. Once the front of the bag is complete, lay the pattern piece for part b over both sides of part a and make a mark on each side to indicate where the gusset will stop.

26. Install the male side of a line 24 snap onto the bottom of part a in the indicated hole.

27. Then apply glue around the edges of part c and part a up to the marks you made previously.

28. Snap the male and female sides of the line 24 snap on parts a and c together being careful not to let the glue touch until the pieces are aligned correctly.

29. Trim around the edge at this point to ensure that your stitching is uniform.

30. Now apply adhesive to the gusset and the flesh side of part A and press them together in the same way that you pressed the gusset and part b together.


31. Sew around the edge, you can either sew just where the gusset is making sure to back stitch at both ends or you can stitch around the entire edge of part a for a more professional look.

32. Once you are done stitching, finish the edge around part A.

33. All that is left at this point is to install the swivel snaps and buckle onto the shoulder straps.

34. Your bag is now complete!


Comments
Leave a comment