By Jim Linnell
When I first got introduced to leatherworking, I started with the Lucky Seven Tool Set that Tandy Leather was selling at the time—50 or so years ago!

A common misconception I’ve heard for years from potential leatherworkers is, “Oh, leathercraft is so expensive, I can’t afford this.” Although you’ll find many artisans and collectors who have substantial investments in their tools, what many first timers fail to realize is that beautiful leather carvings can be created with seven basic, affordable tools and a mallet. Sure, there is a tool for everything, and it can certainly be fun to experiment with them, however this is really all you need to get started. What is ultimately most important is that you invest in practice and learning general knowledge about the craft. With just these eight basic tools, you can produce a dynamic variety of designs:
-
Swivel Knife
-
Camouflage Stamp
-
Pear Shader
-
Beveler
-
Seeder Stamp
-
Veiner Stamp
-
Background Stamp
-
Mallet
Although that kit worked for me for many years, I now typically recommend that you visit your local leather store to pick the stamps yourself. Not only will you be able to see the wide variety of tools available, but you’ll find what works best for your leather projects. In this guide, I’ll share which tools I believe are best to get a beginner started, with a few tips on how to find success with them. For context, all of the numbers mentioned here are Craftool® stamps, which are commonly available at your local Tandy Leather. This collection is not identical to the beginner sets that are available today, which some might find a simpler place to start; however, here are the stamping tools I’d recommend to a new leatherworker.
Swivel Knife
Most kits come with the basic swivel knife, however, you’ll be using this tool enough that I might recommend the Ergo Handle Swivel Knife. You’ll find it to be a bit more comfortable yet quite functional and affordable, getting the job done without being too complicated.
This tool may be more challenging than the other tools you use because it’s an unfamiliar motion. When holding the tool, you want your forefinger to rest in the yoke. By having the forefinger here you can add pressure as you cut. Your thumb rests on one side and the middle finger opposite that. Rest your ring finger resting against the side of the blade.
To get nice, smooth cuts, it's important to learn how to rotate the knife towards you; rotate your leather as much as you need to! Rotate the knife between your fingers to follow along the curves. This action must be slow and deliberate.
My most popular class, year after year, is always the workshop I teach on swivel knife finesse. This is different from any tool you’ve used before, however it’s at the foundation of quality leatherwork. The best advice I can give you is to look online for some basic swivel knife tutorials and practice, practice, practice.
Important note: To make sure the tool works properly you need to frequently strop it. To do this, you can use a scrap of cardboard or leather, generously rub jewelers rouge on it, and polish the blade to give it a sharp and clean edge.
Camouflage Stamp
When following basic floral patterns, often you’ll start with the camouflage stamp. In my opinion, the best size camouflage tool for novice leatherworkers is the C431. It is the one that came in my kit, and I still use the tool because it is a size that works in many patterns. I typically use it around the edge of my project to create a border or to add texture to the leaves and stems of floral carvings.
Aesthetically, this tool may look like a big eyelash or shell, however you’d be surprised all the different ways you can find to use it. You’ll often see this design used in Western leather carving patterns, used to create a sense of dimension and a roll-over effect into the center of the design. It also is frequently used to make simple borders.
Pear Shader Stamp
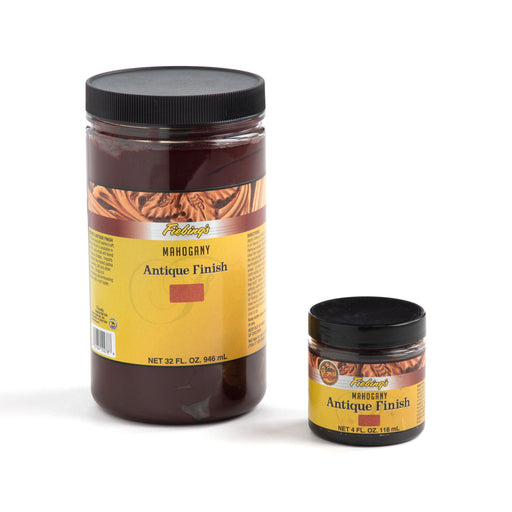
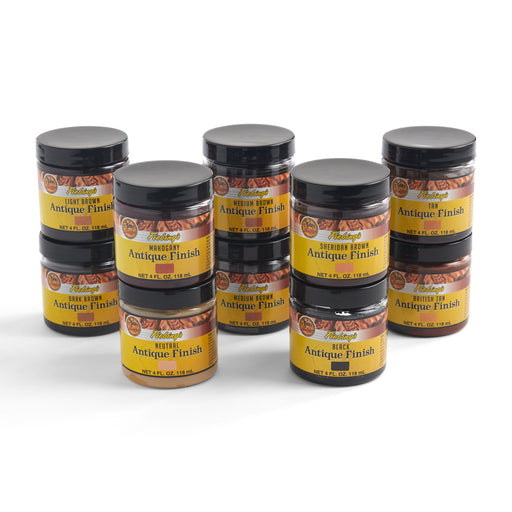
I recommend a P217 because it is a size and texture that can be used to do a variety of carving styles or designs. It is perhaps the most common size to use, whether making a coaster or a wallet. The texture on the face of the tool also offers texture for antique to collect in, which can really make projects pop when dyeing them.
When your leather has the appropriate level of moisture, the pear shader can be used to create depth and a burnished impression in your design, often creating a 3-D effect. This will be used in almost every floral design to contour the leaves.
Beveler Stamp
The beveler will often be your most used stamp, so make sure you get yourself one that will do most of what you need it to. The B198 is a good medium-sized tool that can be used for the majority of the beveling on most designs. The texture of this tool will help to create more burnish when your leather is properly cased.
In woodwork, the artists physically remove wood to create depth. In leatherwork, we don’t have to do that. Instead, we use the toe, or the sharper edge, of the beveler stamp to compress leather fibers, effectively removing that section. This will often follow in the ridge created by your swivel knife.
The biggest challenge most novice leatherworkers encounter (or professionals, for that matter) is “walking” the tool slowly to create a smooth line. The first time I used this tool, I could see each of my individual taps, which gave a very rigid feel to it. Since then, I’ve learned to overlap each impression to achieve more seamless results.
Seeder Stamp
Seeder stamps can be used for manually creating flower centers however they also make for a great design element. As with all of these stamping tools, there are a variety of options, however I recommend S724 as it is the most common size used in most patterns.
Often leatherworkers will just place seeds evenly in a seed pod, which can look okay. If you want to add a bit of finesse to your project, you can start by putting a row of seeds right on the edge of the center, tilting the tool to get an angled impression to add some more dimension. By slowly adjusting the angle to be perpendicular towards the flower’s center, you can avoid creating a sunken hole in the middle of the flower and instead the seeds will sort of stand out.
Veiner Stamp
The veiner is used to create some of the more defined leaf textures in floral designs, however, it has a variety of uses creating borders and patterns as well. A V708 is what I would choose if I was beginning my leather work today. It is a great size, very versatile, and one you will use often as you do more leather carving.
Since the veiner tool is very long, you typically want to keep it at an angle in order to make sure you just work to the edge of the leaf you are adding veins to. If used flat, you are likely to accidentally get teeth impressions in places you don’t intend them to be.
Background Stamp
The purpose of background stamps are to matt down the leather in the openings to create the final depth and dimension, typically one of the last steps in the leather tooling sequence. The A104 is ultimately the most universally useful matting tool. It's the easiest to use of all of the different background or matting stamp and has a pointed end that allows you to get into smaller spaces without needing a second tool. Moisture content is pretty important at all stages of your tooling, but particularly here. If your leather is too damp, and your background will be mushy. If it’s too dry, you’ll struggle to create consistency. If you’re tooling a design from start to finish, often your leather will have begun to dry out a little by this point anyway, which may be ideal without adding more water.
Mallet
I began my leather working with an inexpensive, wooden mallet, and there’s no real need to get too fancy and spend a lot of money on a mallet. Although a wooden mallet would work fine, I recommend you step it up to a mid-weight mallet. The mallets with the yellow poly head are very durable, so it is sure to last you a long time. As long as your chosen mallet has some decent weight to it, it will be easy enough to use.



Leave a comment