Leather crafting is an age-old art that has captivated artisans and hobbyists alike for centuries. One fascinating technique within this craft is wet forming, a process that allows you to shape and mold leather while it's still wet. Whether you're a seasoned leatherworker or a novice looking to delve into the world of crafting, wet forming can add a new dimension to your projects. In this guide, we'll explore the basics of wet forming leather and how you can get started on your own creative journey.
Materials You'll Need:
-
Vegetable-Tanned Leather: Choose high-quality vegetable-tanned leather for wet forming, as it holds its shape well and is easy to work with when wet.
-
Water: A spray bottle or sponge to dampen the leather. Ensure it's evenly moist, but not soaking wet.
-
Molding Tools: These can include wooden or metal molds, depending on the shape you want to achieve. Alternatively, you can use common household items like bowls, cups, or wooden forms.
-
Clamps or Clips: To hold the leather in place while it dries.
-
Protective Gear: Gloves to keep your hands clean and to protect against any chemicals used in the leather.
Step-by-Step Guide:
-
Choose the Right Leather: Start with high-quality vegetable-tanned leather, as it has the ideal characteristics for wet forming. Thicker leather works well for larger, more structured projects like armor.
-
Design Your Project: Plan your project and create a template or pattern. Consider the final shape you want to achieve and design accordingly.
-
Dampen the Leather: Use a spray bottle or sponge to evenly dampen the leather. Be cautious not to oversaturate; the leather should be pliable but not dripping wet.
-
Mold the Leather: Place the leather onto your chosen mold or form. Shape it by gently pressing and molding it to the desired contours. Experiment with different molds and shapes to achieve the look you want.
-
Secure with Clamps: Once you've achieved the desired shape, use clamps or clips to secure the leather in place. This ensures that it maintains the shape as it dries.
-
Allow to Dry: Allow the leather to air dry completely. This process may take several hours or even dayx, depending on the thickness of the leather and the humidity in the workspace.
-
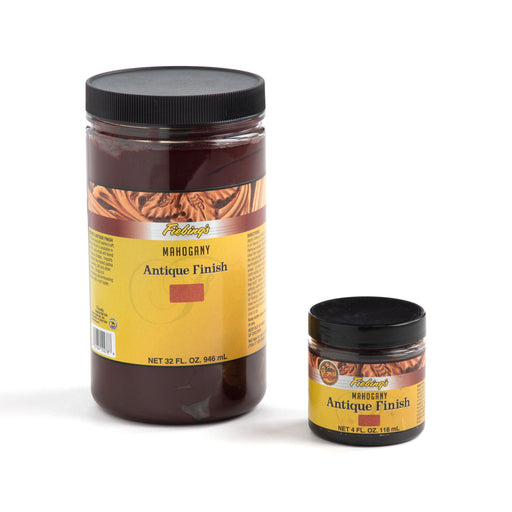
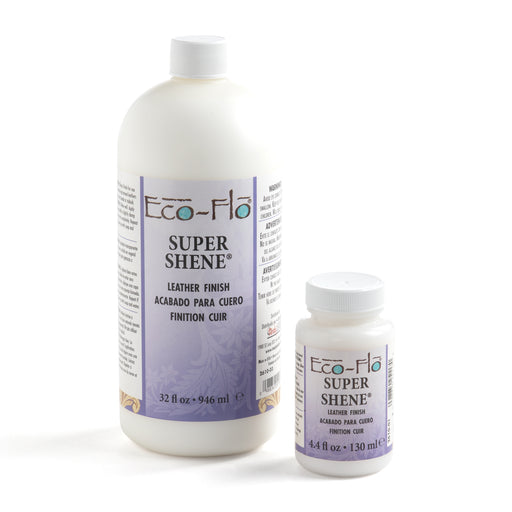
Finishing Touches: Once the leather is dry, remove it from the mold. You can now add additional finishing touches, such as dyeing, stamping, or tooling.
PRO TIP! Be careful when applying dyes or casing to stamp and tool after wet-forming. If the leather becomes oversaturated or it falls out of shape when performing these customizations the overall form will be lost when it re-dries!
Tips and Tricks:
-
Experiment with Different Shapes: Don't be afraid to experiment with various molds and shapes. Wet forming opens up a world of possibilities for unique and custom designs.
-
Patience is Key: Allow the leather to dry completely before removing it from the mold. Rushing this step can result in the loss of the desired shape.
-
Use Protective Gear: Wear gloves to protect your hands, especially if you're working with dyed or treated leather.
CONCLUSION
Wet forming is a versatile and rewarding technique that allows you to transform simple pieces of leather into intricate, three-dimensional works of art. Whether you're crafting functional items like holsters and sheaths or adding artistic flair to your projects, wet forming opens up a realm of creative possibilities. So, grab your leather, start experimenting, and let your imagination run wild in the world of wet forming. Happy crafting!


Leave a comment